


Soil tests aren’t just for farmers or commercial operations. Homeowners can benefit from a simple soil test and learn valuable information to help them better care for their lawns.
Why Should You Conduct a Soil Test?
The results of a soil test can help you determine what to plant and how to best treat your lawn based on the conditions you’re dealing with. Finding out what’s present in your soil will also help you avoid overdosing it with unnecessary chemicals. This can be especially helpful if you’re struggling to keep grass and plants alive, you’ve moved to a new home and aren’t familiar with the soil, you haven’t tested the soil in years, or you want to know if any changes you’ve made have had an impact. For long-term lawn health, soil testing is a simple yet essential step.
When Should You Test Soil?
While the best time to test soil is as soon as possible (especially if your grass isn’t faring well), conducting a test in spring or early fall will provide you with results in time to apply fertilizer and/or lime during the ideal application periods.
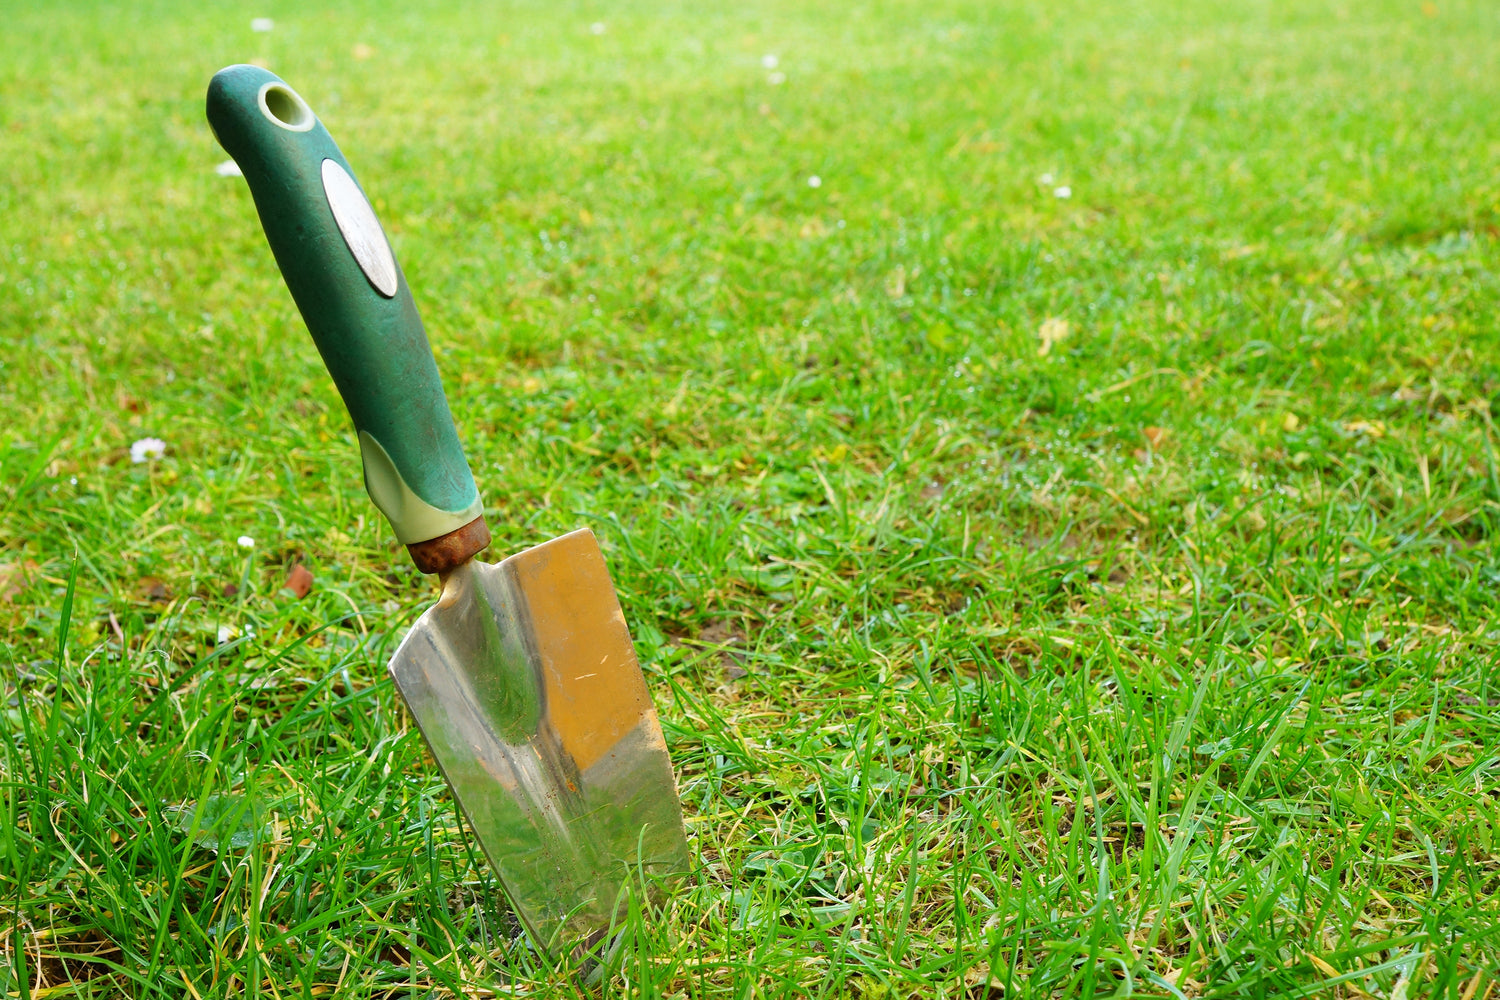
To get a solid sample that’s representative of your soil, dig it up when the ground isn’t overly wet or dry.
Lawn care experts recommend testing every 3 to 4 years, as composition and issues can develop over time.
What Can a Soil Test Tell You About Your Lawn?
You can choose a basic test that simply tells you the soil’s pH, or you can invest in more advanced testing that also checks the percentage of organic matter, the level of macronutrients (such as nitrogen, phosphorus, and potassium), the quantities of micronutrients (such as zinc and iron), texture, and salinity. Some labs can test for toxic elements like lead or arsenic that could be harmful to plant and human life. The more you can learn about your soil, the better.
How Do You Test Soil?
Depending on your budget, schedule, know-how, and need for the most accurate results, you can choose between a DIY soil test or lab testing. Typically, lab tests are the most reliable and can provide the most in-depth data. If you can go with lab testing, it’s probably your best bet.
Whichever route you choose, follow these best practices along with test instructions:
- After clearing surface debris, use a soil probe or dig down to a depth of 6 inches. Discard that first scoop of soil, then collect a sample.
- Dig in a few different spots within your test area and mix the soil together to get a sample that’s representative of the overall area.
- Avoid taking samples from areas that vary from the overall test area (sunken spots holding water, spots where lawn treatments spilled, etc.).
- Avoid contaminating your sample with dirty hands, shovels, or buckets. Discard any debris and bugs from the soil, then let it air-dry for a day before testing.
Leave a comment
This site is protected by hCaptcha and the hCaptcha Privacy Policy and Terms of Service apply.